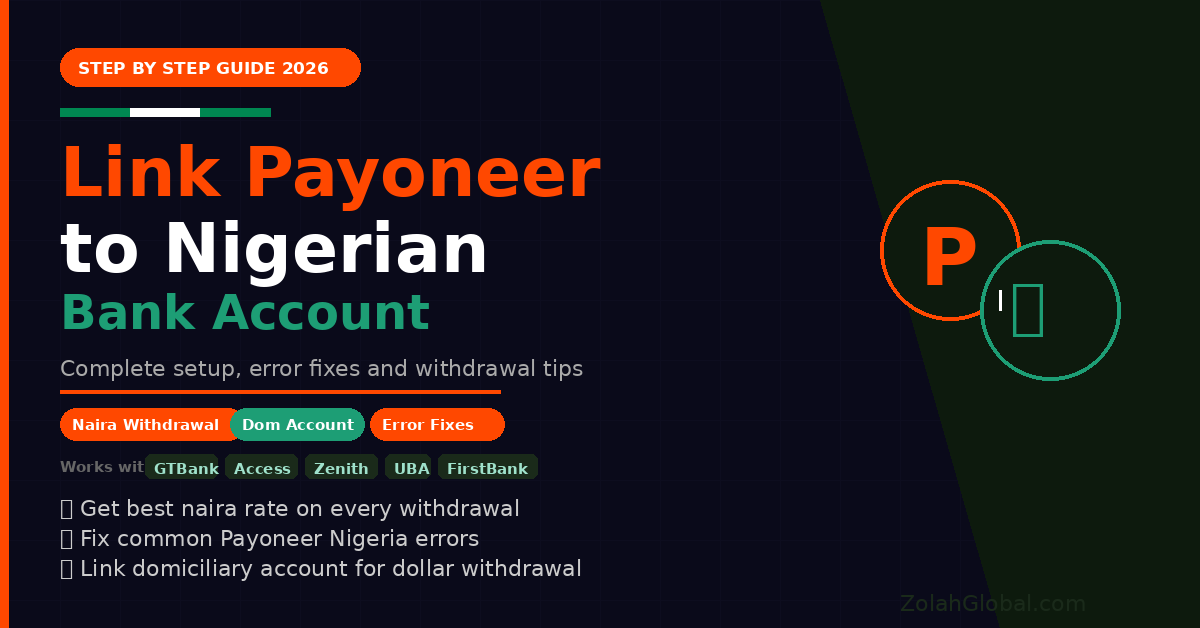
Learning how to link Payoneer to your Nigerian bank account is the most important step for any Nigerian earning money online in 2026.
Payoneer is how most international platforms pay Nigerian earners. Fiverr, Upwork, Amazon, Google AdSense, CPAGrip, Airbnb, and hundreds of other platforms all use Payoneer to send payments to Nigeria.
But many Nigerians get stuck at one critical step — linking Payoneer to their Nigerian bank account so they can actually access their money.
In this complete guide I will show you exactly how to link your Payoneer account to your Nigerian bank account in 2026 — step by step, with screenshots descriptions, common errors and how to fix them.
By the end you will know:
- How to set up your Payoneer account correctly
- How to link your Nigerian bank account to Payoneer
- How to withdraw naira directly to your bank
- How to withdraw dollars to your domiciliary account
- Common errors and exactly how to fix them
- How to get the best naira rate when withdrawing
What Is Payoneer and Why Do Nigerians Need It?
Payoneer is a global payment platform that allows individuals and businesses to send and receive money internationally. For Nigerians it serves as the bridge between international income and local Nigerian banks.
Why Payoneer is essential for Nigerian online earners:
- Over 2,000 international platforms pay via Payoneer
- You get a free US bank account number, UK account, and EU account
- Withdraw directly to Nigerian naira or domiciliary accounts
- Payoneer Mastercard lets you spend online globally
- Faster and cheaper than traditional wire transfers
- Accepted by Fiverr, Upwork, Amazon, Google, and hundreds more
The bottom line: If you earn anything online internationally, you need a Payoneer account linked to your Nigerian bank.
Before You Start — What You Need
Before linking Payoneer to your Nigerian bank account, make sure you have:
For naira withdrawal (regular bank account):
- Active Payoneer account with at least $50 balance
- Nigerian bank account in your name (GTBank, Access, Zenith, UBA, First Bank, etc.)
- Your bank account number
- Your bank’s name
- Your account name (must match your Payoneer name exactly)
For dollar withdrawal (domiciliary account):
- Active Payoneer account
- Nigerian domiciliary account in your name
- Your dom account number
- Your bank’s SWIFT code
- Your bank’s branch address
Important: Your bank account name MUST match your Payoneer account name exactly. If your Payoneer says “John Adebayo” but your bank account says “Adebayo John” — the transfer will fail or be returned. Fix this before proceeding.
Part 1 — How to Create and Verify Your Payoneer Account
If you already have a verified Payoneer account skip to Part 2.
Step 1: Go to payoneer.com and click “Sign Up”
Step 2: Choose “Get Paid” as your account type
Step 3: Fill in your personal details:
- First name and last name (exactly as on your ID)
- Date of birth
- Nigerian address
- Phone number
- Email address
Step 4: Create a strong password
Step 5: Verify your email address — check your inbox and click the verification link
Step 6: Submit identity verification:
- Upload a clear photo of your International Passport, National ID, or Driver’s License
- Upload a selfie holding your ID
- Payoneer reviews and approves within 1–3 business days
Step 7: Once approved your Payoneer account is active and ready to link
Part 2 — How to Link Payoneer to Your Nigerian Bank Account”
This is the main process. Follow each step carefully.
Step 1 — Log into your Payoneer account Go to payoneer.com and log in with your email and password.
Step 2 — Go to Settings Click your name or profile icon at the top right corner. Select “Settings” from the dropdown menu.
Step 3 — Click “Bank Accounts” In the Settings menu find “Bank Accounts” or “Payment Methods” and click it.
Step 4 — Click “Add Bank Account” You will see a button to add a new bank account. Click it.
Step 5 — Select your country From the country dropdown select “Nigeria”
Step 6 — Select your currency
- For naira withdrawal — select “NGN”
- For dollar withdrawal to domiciliary account — select “USD”
You have completed the setup basics. But the most important steps are what comes next.
Below this lock are the remaining steps including the exact form fields to fill for Nigerian banks, what to write in each field to avoid rejection, how to fix the most common Payoneer Nigeria errors, how to make your first withdrawal, and how to get the best naira rate on every withdrawal.
Complete one free offer to read the complete step by step Payoneer Nigeria bank linking guide — including error fixes and withdrawal tips.
✅ Free — no payment required ✅ Takes less than 2 minutes ✅ Instant access after completion
🔒 The Complete Steps Are Locked
Unlock the remaining steps, error fixes and withdrawal tips for Payoneer Nigeria.
🔓 Click Here to Unlock Free →